How to Clear Your Scratch Disk and Photoshop Cache on Mac
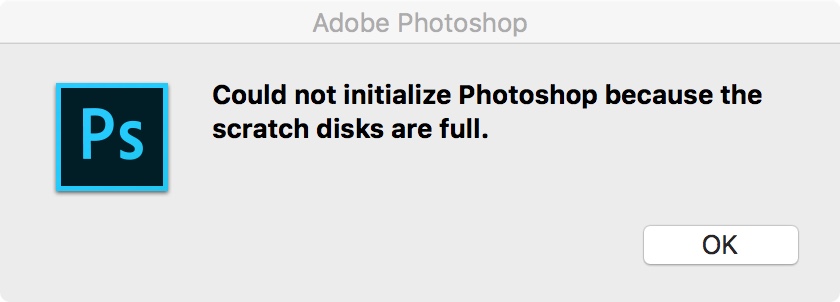
If you are a macOS user who regularly works in programs like Adobe Premiere Pro, Final Cut Pro and Adobe Photoshop, you’ve probably encountered errors relating to a "scratch disk." The most common error is "could not initialize Photoshop because the scratch disks are full".
What is a scratch disk?
Scratch disk is your hard drive space used by Photoshop as a virtual memory when there is not enough RAM to complete a task. Photoshop allows you to assign several scratch disks: that way, it has more space at its disposal.
When working with large images and lots of layers, Photoshop is secretly chewing up your Mac’s space by rapidly creating a mountain of project temp files.
What to do when your scratch disks are full?
1. Clear your Photoshop cache
Photoshop has an in-built solution for deleting specific Photoshop caches. When these pesky caches aren’t removed automatically by the program, they can grow and take up a lot of space on your scratch disk.
To use this tool simply enter Photoshop in Mac and with an image open:
- Click the Edit menu button.
- Hover your mouse over "purge" to reveal 4 different options.
- Undo, Clipboard, Histories, All. If an item is greyed out, that means it has already been deleted.
- Select the specific item you want to delete or select "all" to delete all of your caches.
- You will be warned that the purge cannot be undone, so make sure you don’t need a previous version of one of your projects and then click OK.

2. Delete your temp files
If the in-built solution on Photoshop doesn’t do the job for you, let’s hunt down the culprits manually. Look for files on your Mac that begin with “pst” extension and then a string of numbers followed by the file extension “.tmp”.
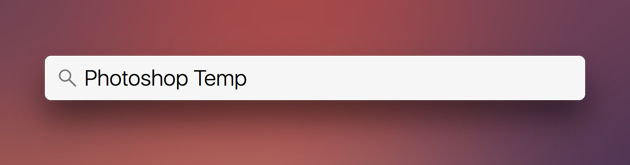
To make sure your scratch disk is empty, search for “Photoshop Temp” on your Mac and look within your entire Mac’s hard drive. Mac will take a couple of minutes to list down all temp files on Photoshop. Wait for a while until the entire list pops up on screen and then safely delete each and every temporary file from your Mac.
3. Clear your disk space
Once in a while it is advisable that you review the drive contents on your Mac. In this way, you can get rid of unneeded files and data and save a few extra chunks of storage space on your device. Head on to Apple Menu > About This Mac > Storage tab.
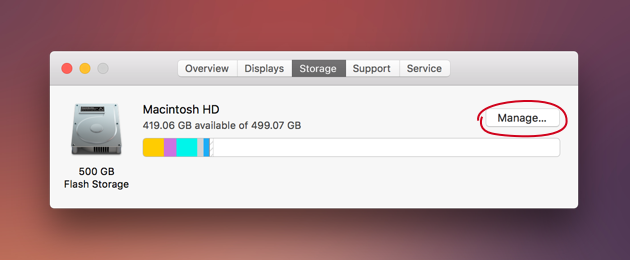
In the storage graph, you’ll see a “Manage” button. Tap on this option to optimize storage space on your Mac. Make the most of these Mac tools and save some additional storage space on your device.
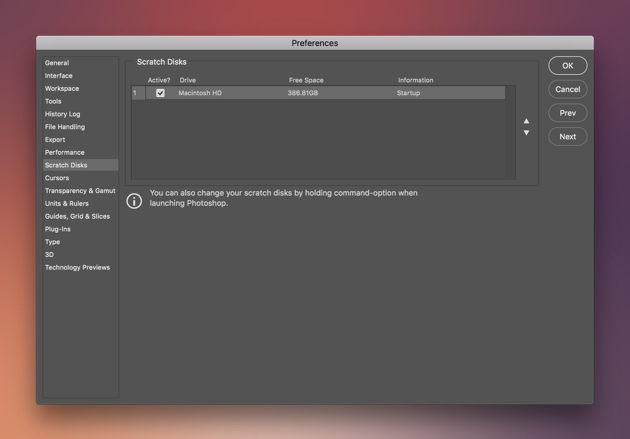
4. Change your scratch disk
Follow these steps to change your scratch disk in Photoshop:
- Click on the Photoshop menu
- Go to Preferences and then Scratch Disk
- Tick the checkbox to select or remove a drive as the scratch disk
- Click OK
- Restart Photoshop
No hay comentarios:
Publicar un comentario